Baron 58 Panel - My Home Cockpit Simulator for X-Plane
This project was started in 2012 as a full-scale panel simulator of twin-engine Beechcraft Baron 58.
The main goal was to show how to make the panel as close as possible to the original in functionality and appearance without the use of complex equipment and expensive materials. You don't need to concern about endurance/toughness for your home cockpit, so such material as plywood, PVC, other plastic and stiff cardboard can be used for most parts.
Interface
As there was no convenient interface for X-Plane for the moment this project was started, I was considering only Arduino as potentially very good platform to start developing our own interface.
First, we had to figure out how to get the necessary data from the simulator (and then how to send data back) using Arduino and UDP protocol. With a few test programs written from scratch, the problem of data transfer between X-Plane and Arduino was quickly solved using the X-Plane's UDP protocol ( you can see some of the first programs in the code archive).
X-Plane has built-in capabilities for data exchange with other computers on the network using the Ethernet UDP protocol. Though the X-Plane data format is quite simple, some efforts was needed to find out all specifics, particularly when we need to send datatref value to X-Plane keeping in mind that to be correctly received by X-Plane, the data string length always must be 504 bytes.
The simple way of I/O interface building is to use only one Arduino board, without using any other schematics or key-matrix, having about 50 digital inputs for buttons/toggles and encoders.
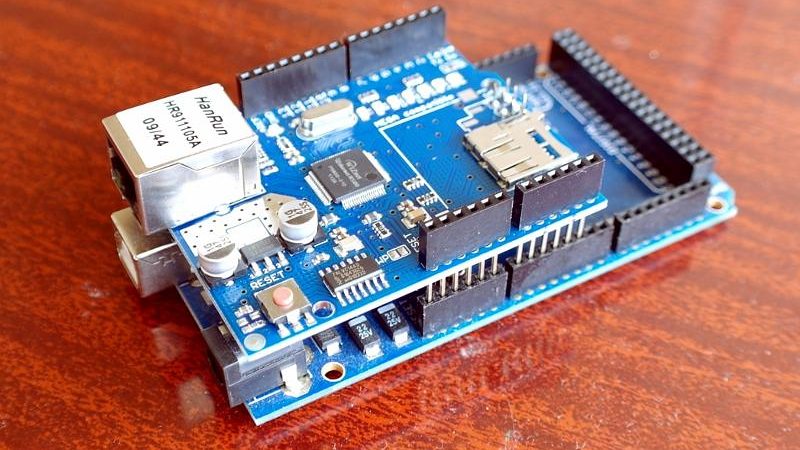


But, as this Baron-58 project needs much more inputs and outputs, I made simple input extension board with 128 digital inputs, organized in 8-bit data bus (16 ports x 8 bit), i.e. used only 8 digital inputs of Arduino, plus 4 outputs to address these 16 ports:
System configuration:

Block diagram of the simulator:
Main computer with Linux Mint, 64-bit (linuxmint.com/)
(Why Linux? It is a separate topic, but, in short, I have long gone from Windows, and X-Plane fortunately is multi-platform, and, in my experience, in Linux it runs better (in FPS). This computer is "master", with X-Plane installed and used to provide the external view.
The Second computer is very old motherboard with videocard and a small HDD, mounted inside the paneland Linux Lubuntu 64-bit LXDE. Both computers and Arduino are connected to the network router.
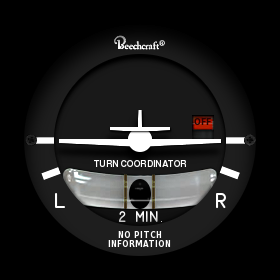
Panel
The second (panel) computer has two LCD panels. Everything is set up so that you only need to press the power button - at startup the whole instrument panel is expanding to fit the work area of both LCD screens
Total time spent on handwork only, from scratch to the "test flight" stage, was roughly 100 man-hours during one year period of building.
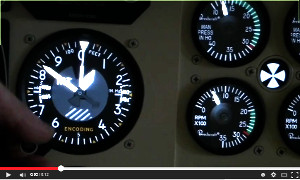
Photo of the panel in a test connection to X-Plane as of Nov. 2012.

Software
For input control only our own Arduino program code was used for this panel (no additional software and plugins).Instrument panel
Initially (as a temporary solution, while our standalone client program was work-in-progress) another copy of X-Plane was used for the instruments visualization, when the main computer sends data via UDP to the second computer.
Later for instruments visualization we use our own instrument program (SimVim Panel),that receives data via network and the whole system can consist of several instrument modules, using cheap old computers or laptops (no need of another copy of X-Plane and a powerful PC).
The standalone Client Instrument Panel Demo: