Wiring, Soldering - My Sample Test Panel
Besides thin wires, you need to buy only 3 items (minimum required) - the soldering stand/holder to have your boards fixed when you solder them something like this one, a soldering iron (40-60 W), Tin (tin-lead) "solder wire" (the tin tube with rosin core 0.5 - 0.8 mm diameter).
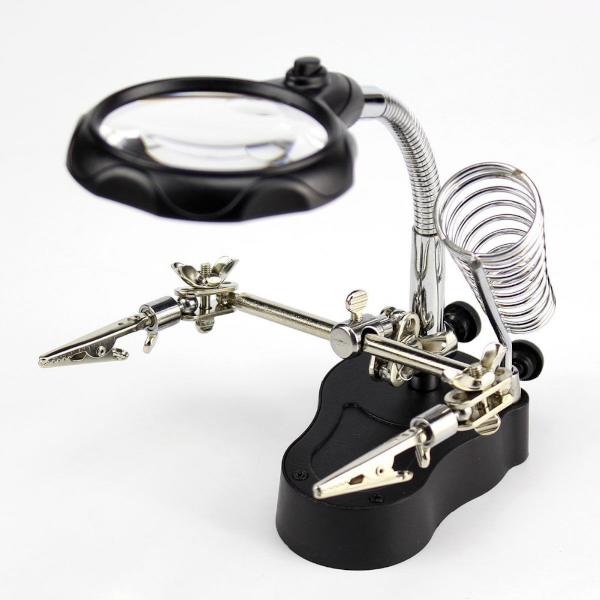
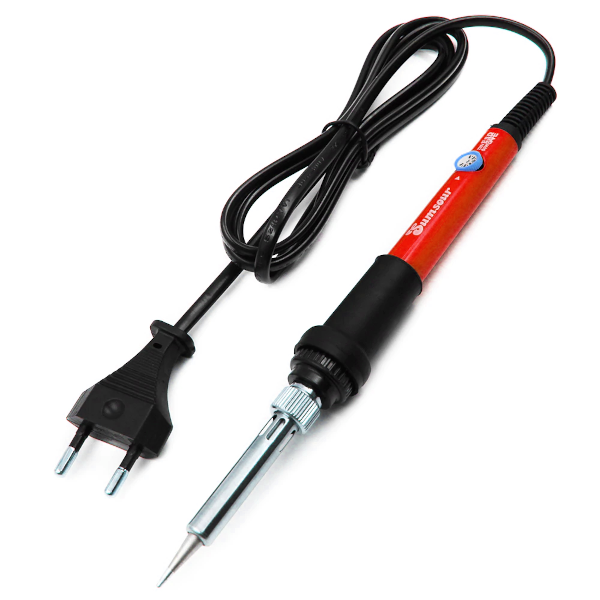
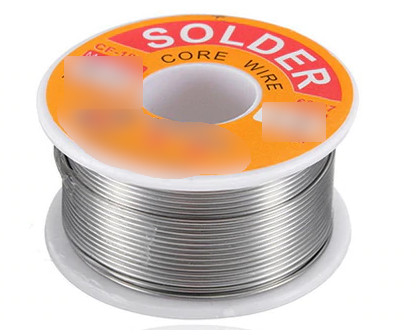
This is a minimal set of tools you need for soldering, if you want you may have a soldering station, different soldering irons, etc.
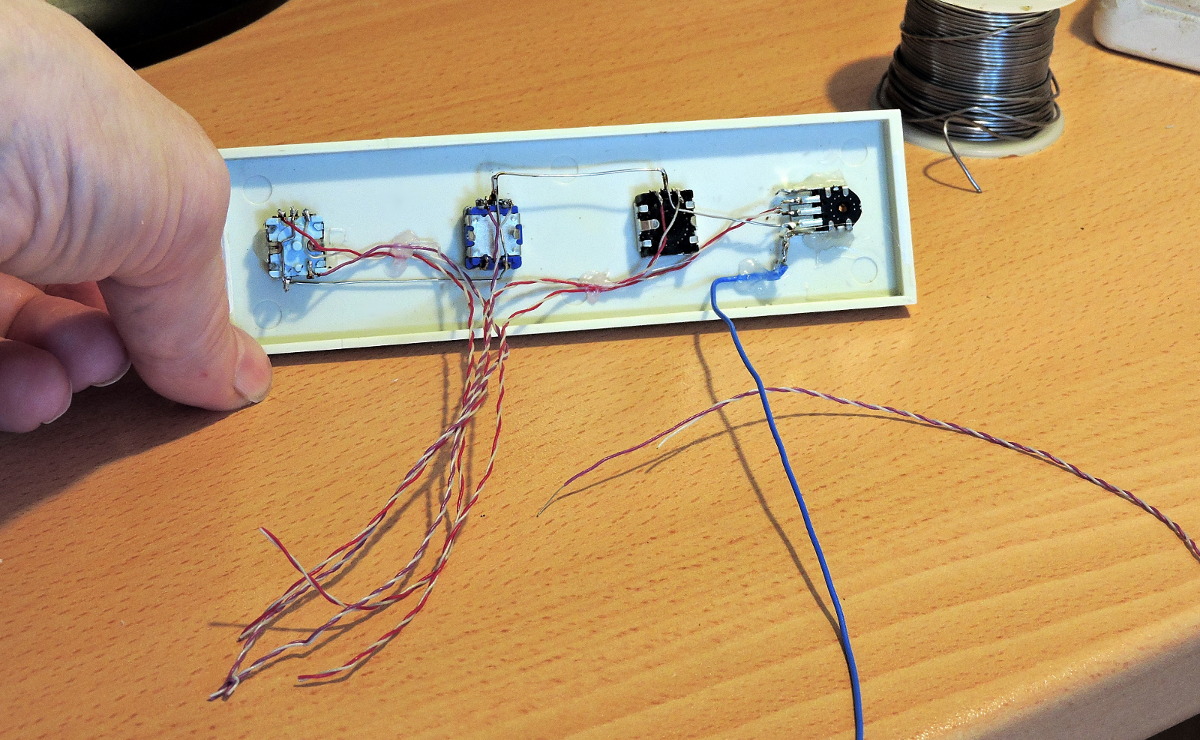
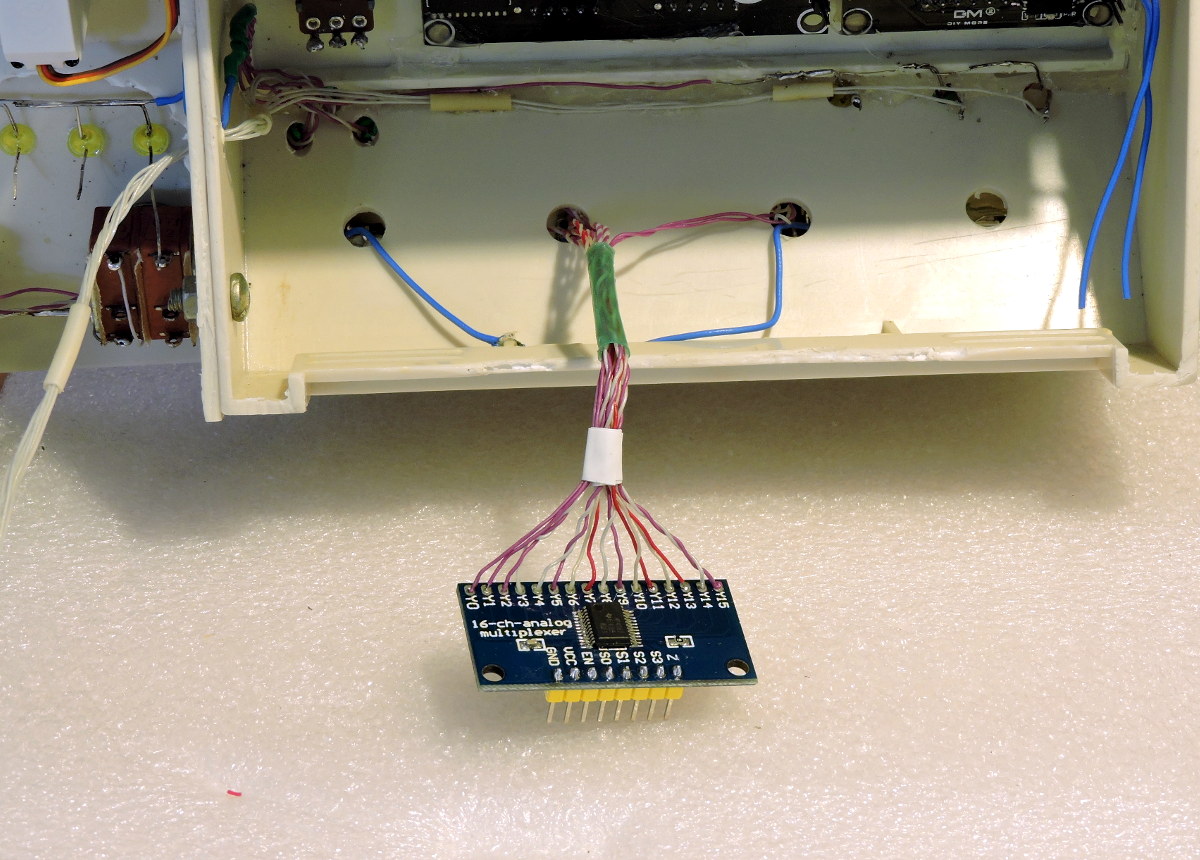
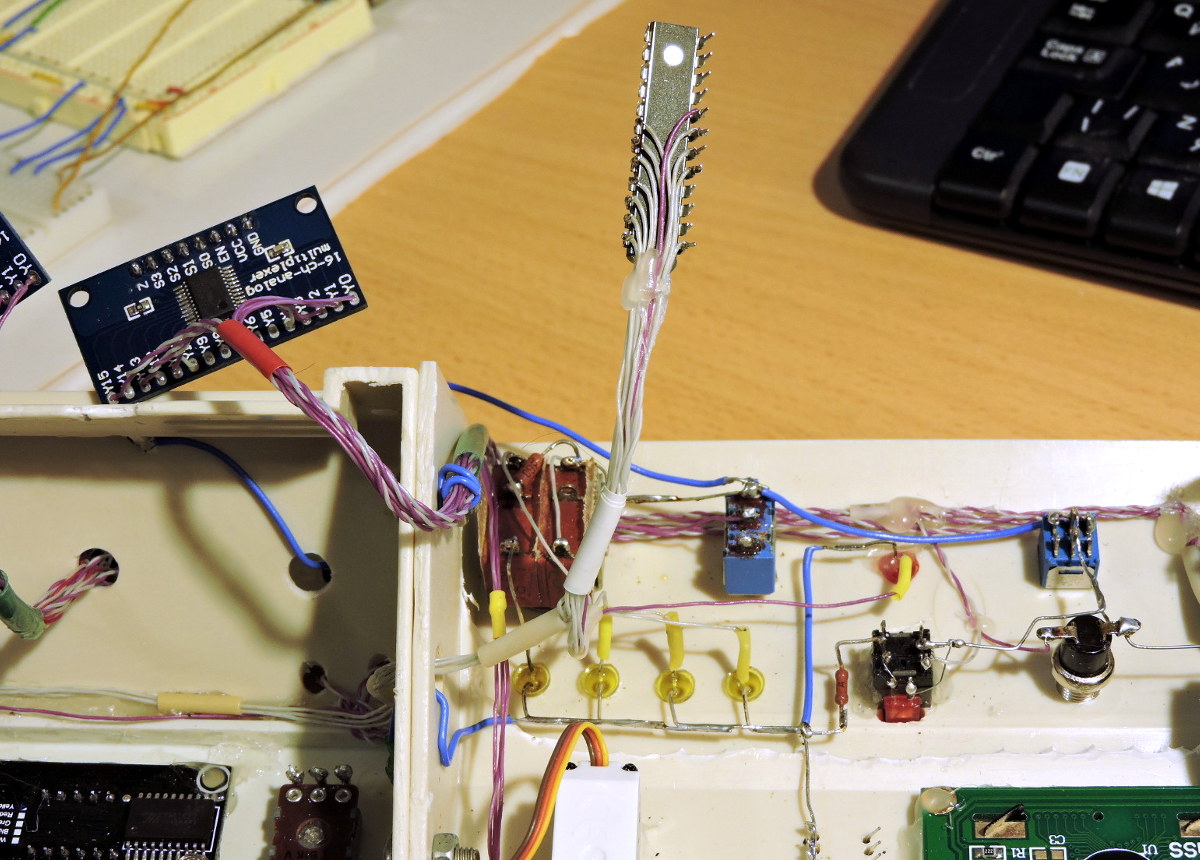
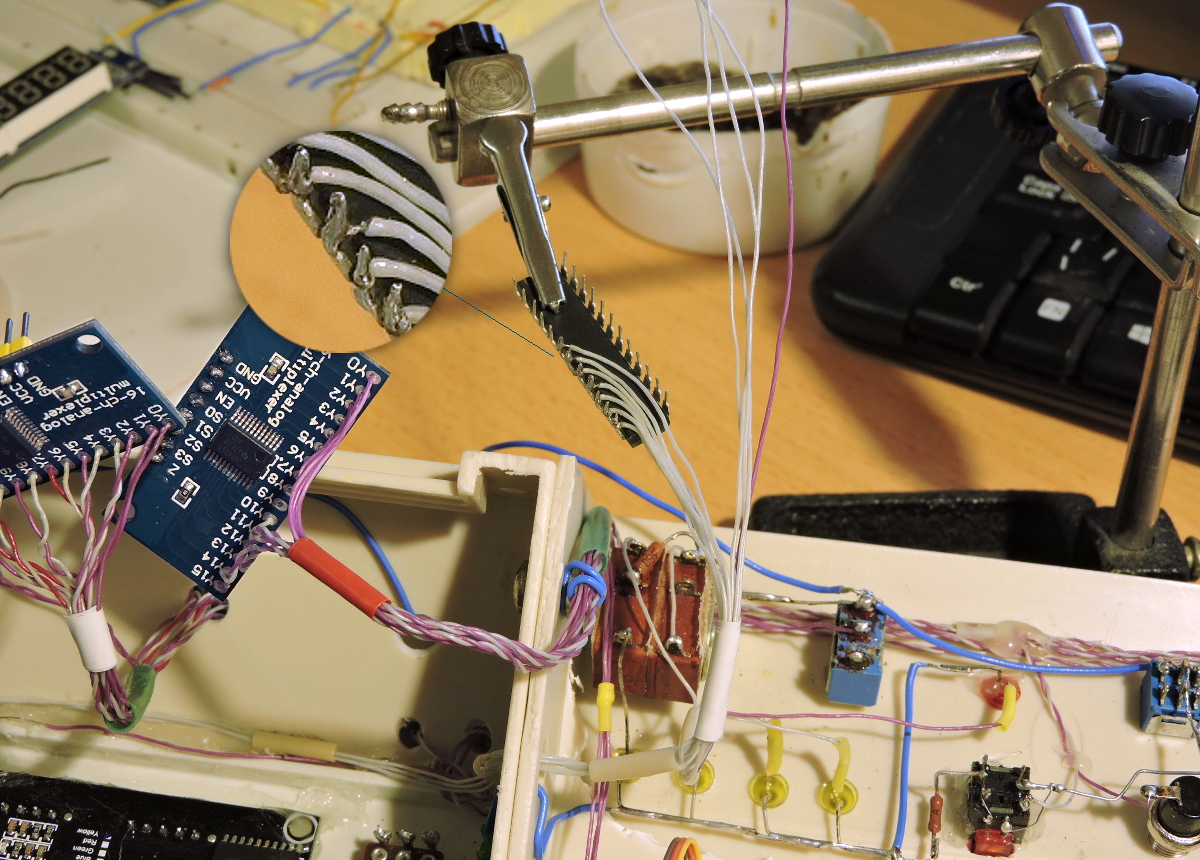
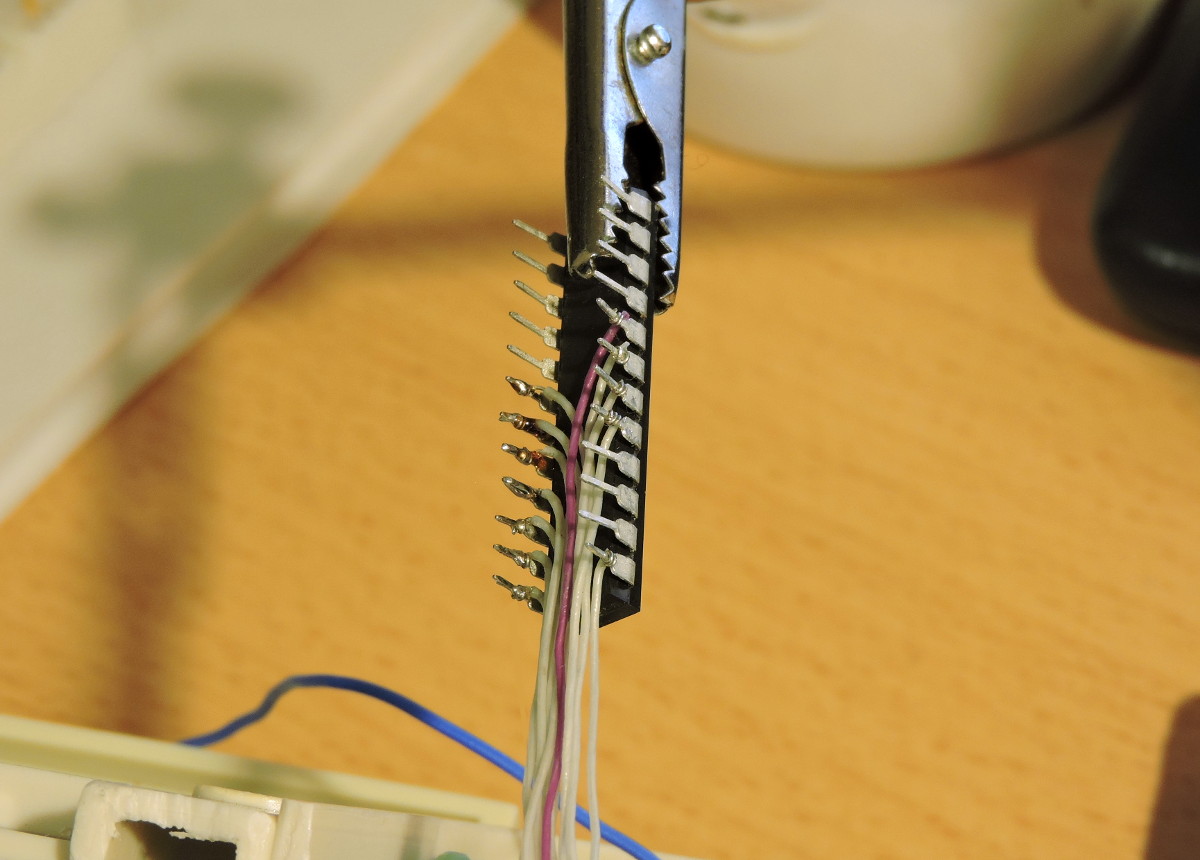
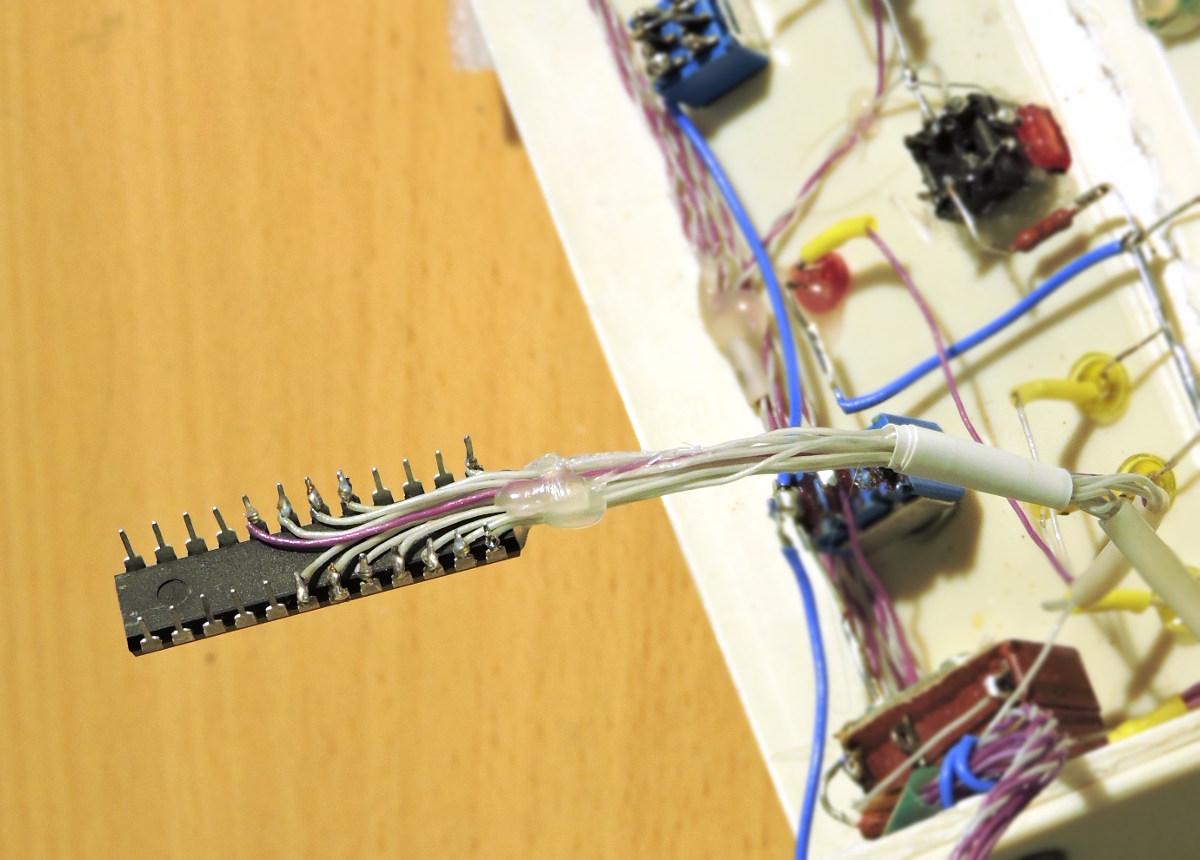
Input Multiplexer header and wires soldersing
Try to keep the soldering time shorter - about 2 seconds, touch every joint with solder wire, then melt it quickly with fully heated soldering iron, making the melted solder leak into the joint spacing for a reliable connection. If you will keep the soldering iron tip on the joint for a long time (>3 seconds) you may overheat the joint, melt the plastic details, and shift the header pins.


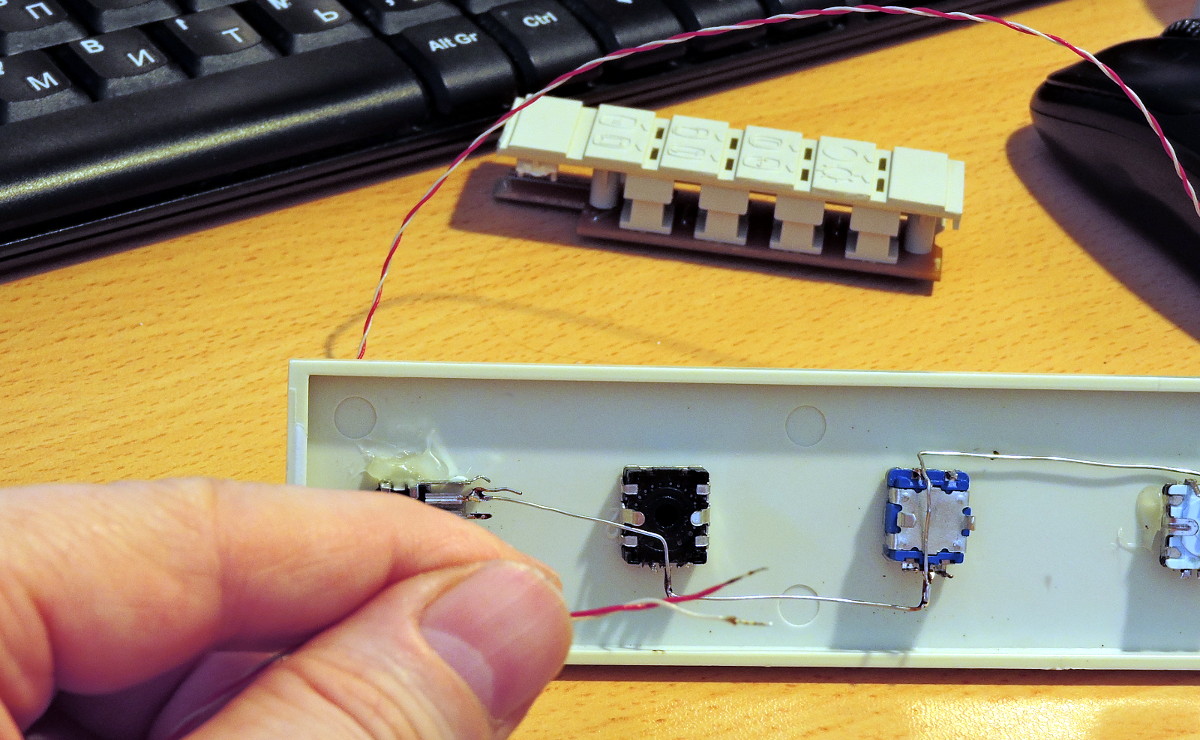
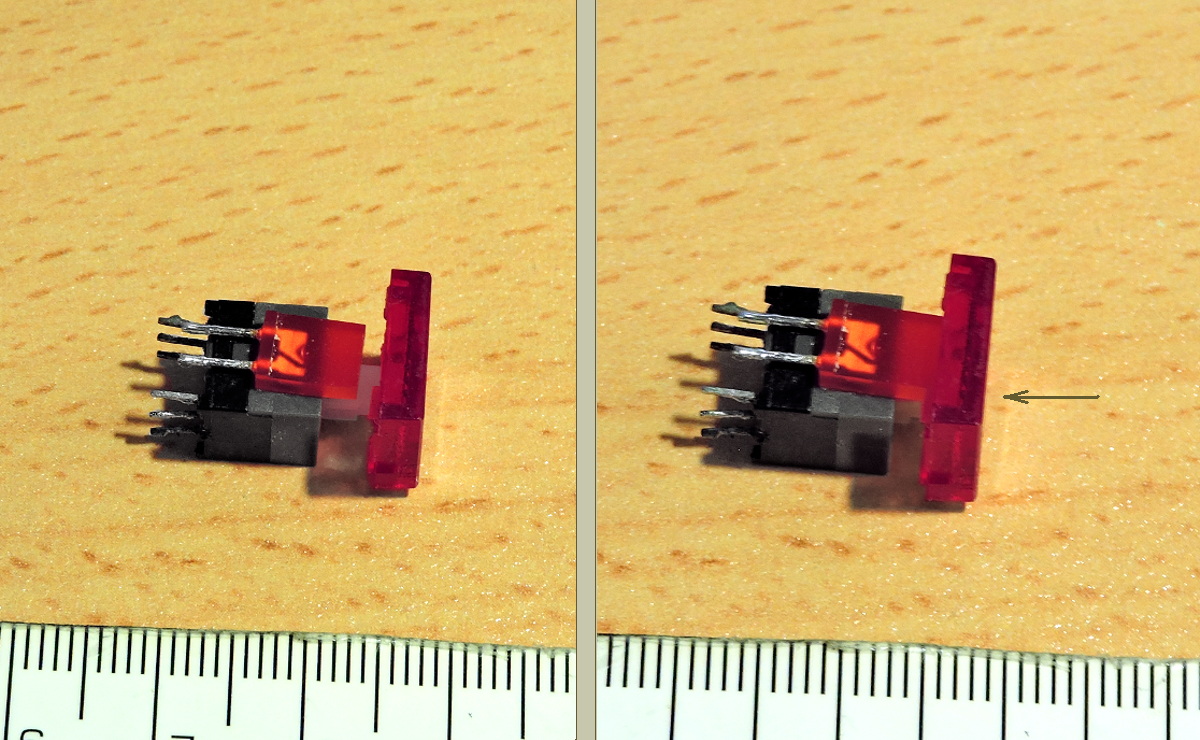
Micro "Korry-type" Switch


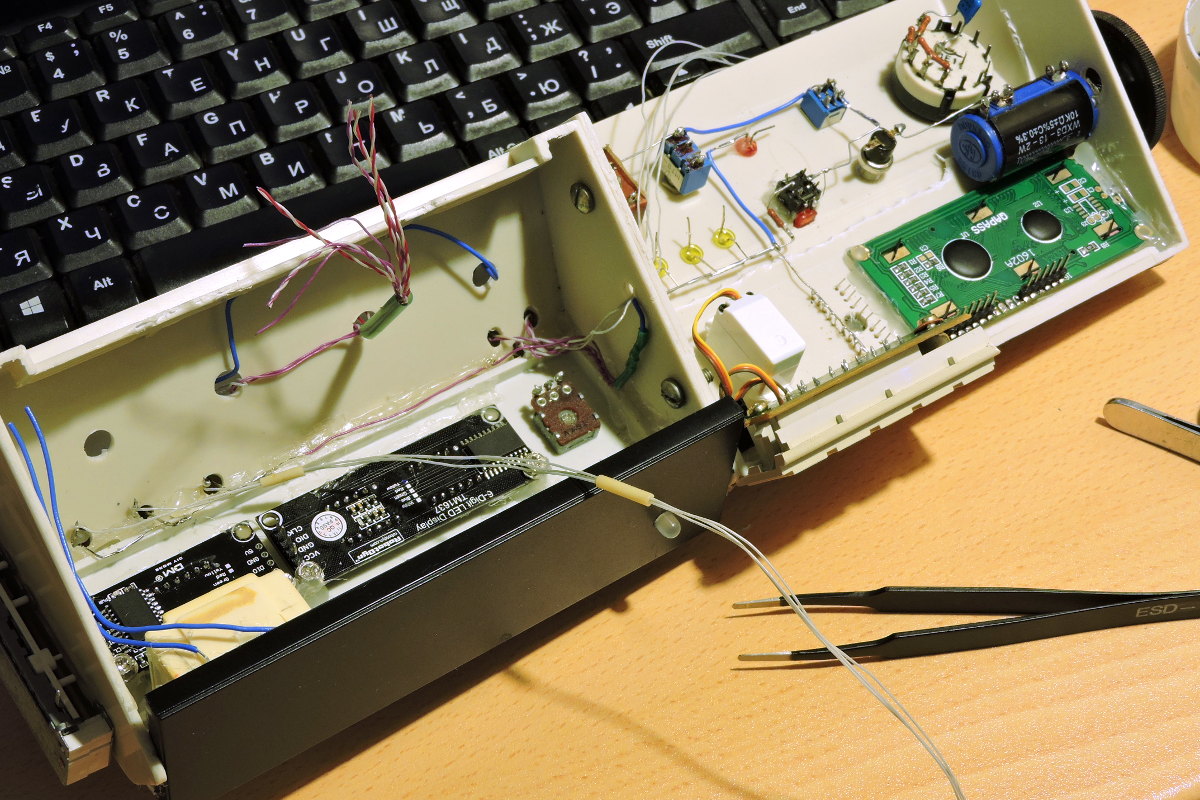
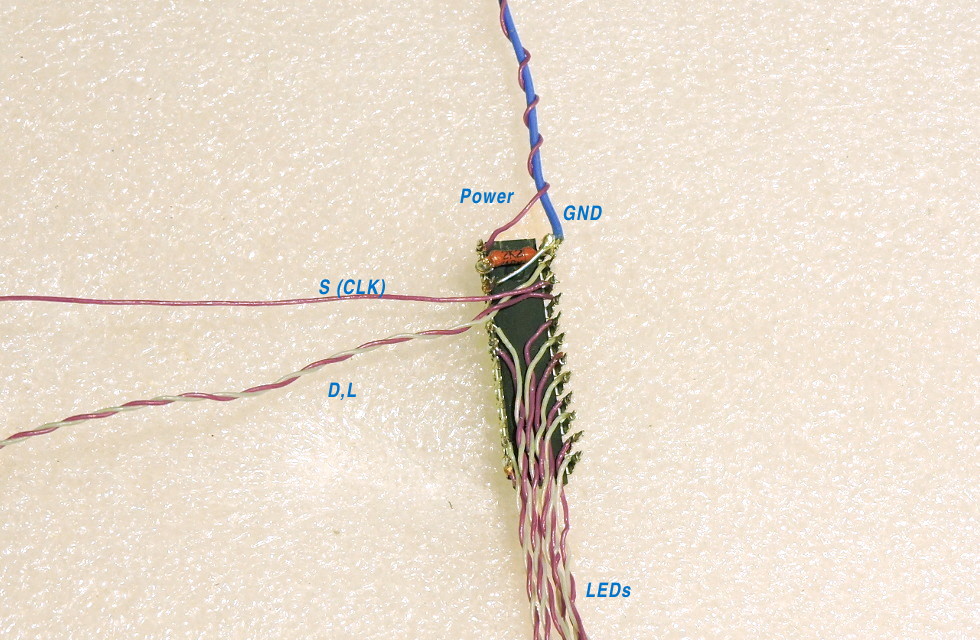
DM13A LED Driver soldering


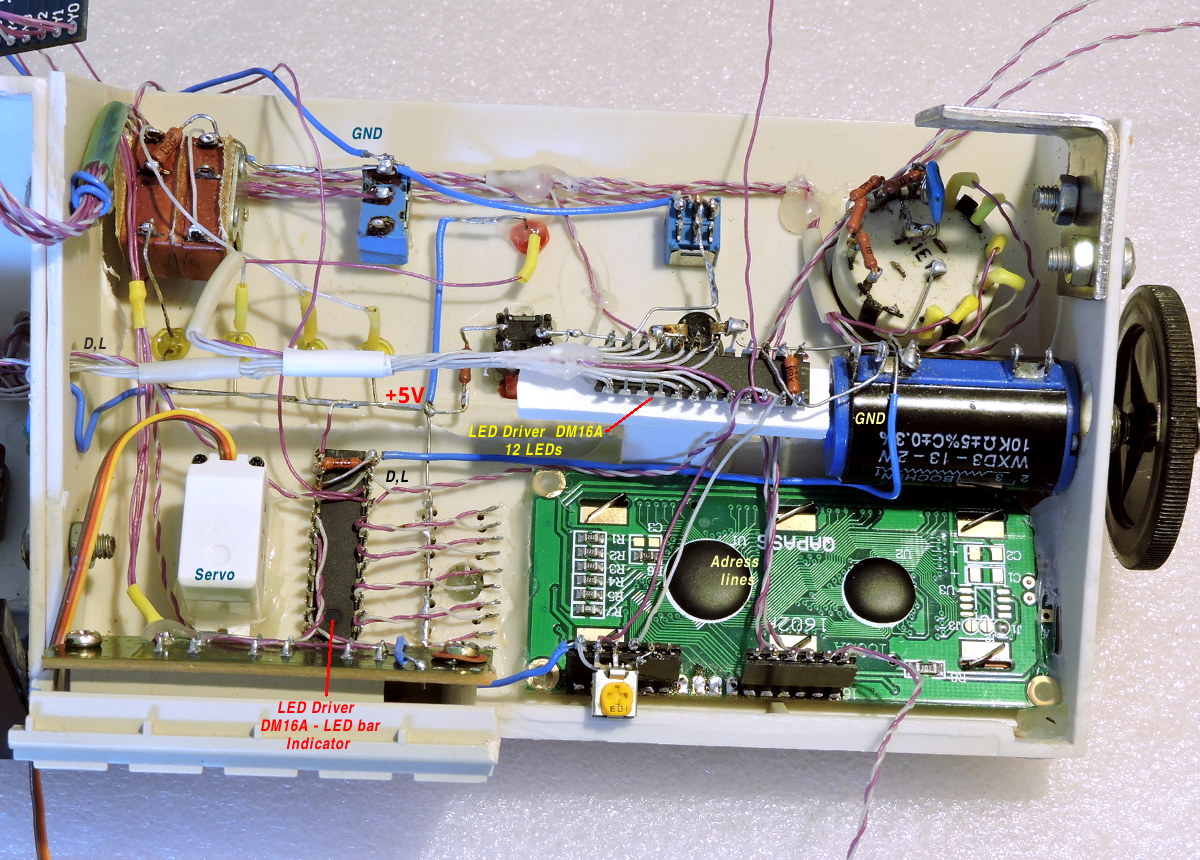
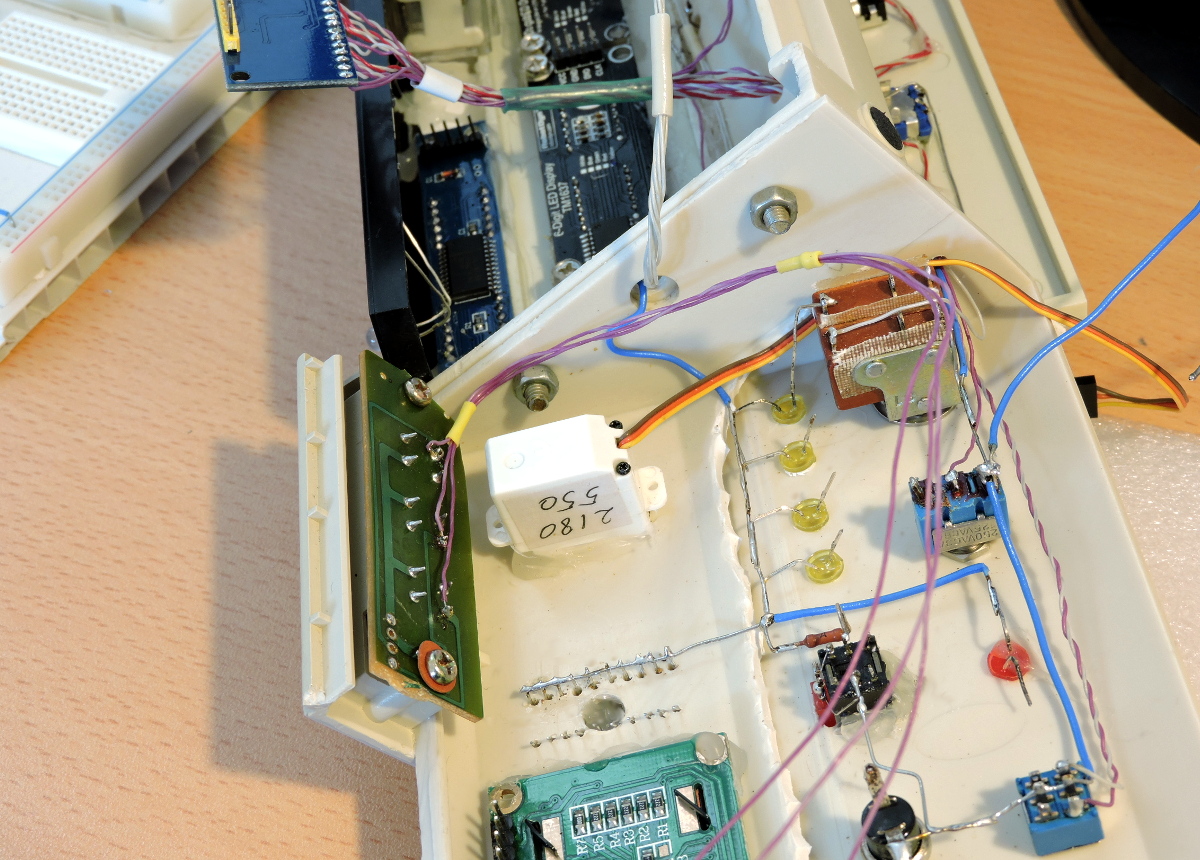
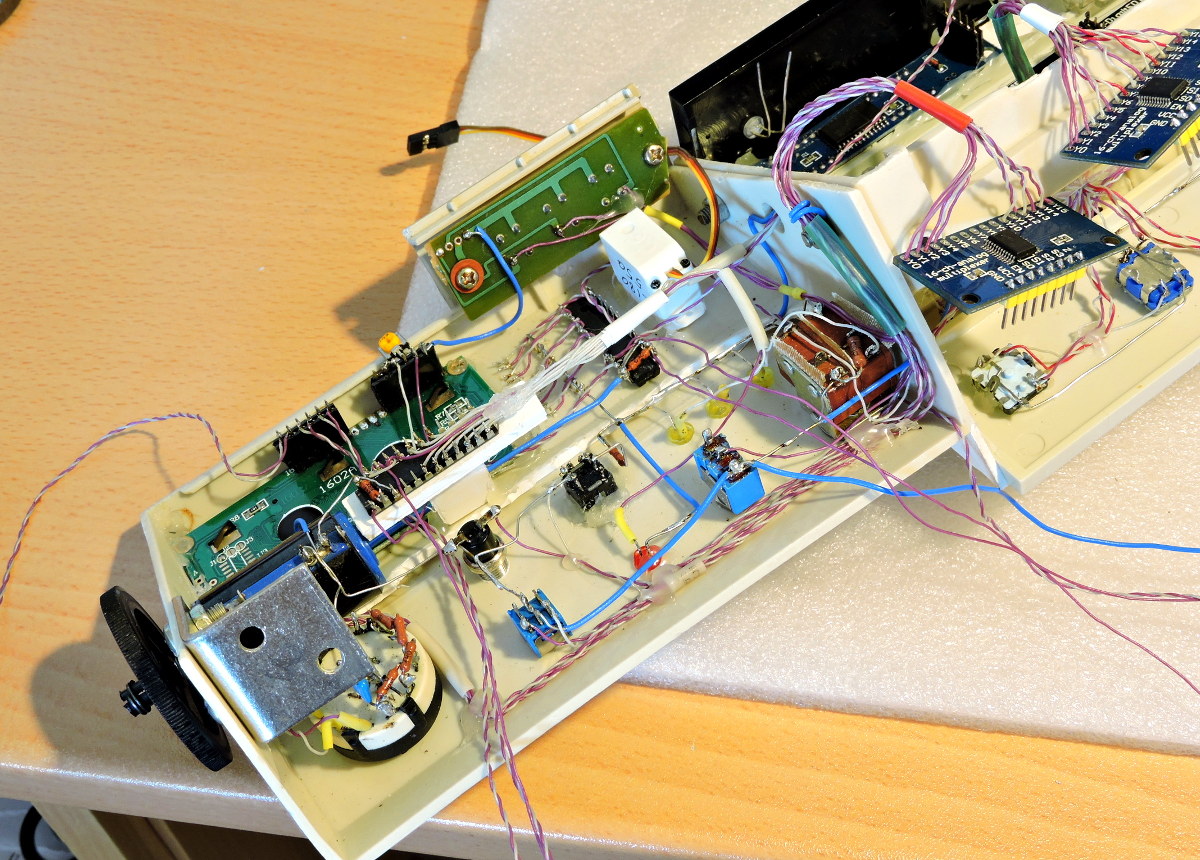
Test Panel wiring