How to make good photos
When you want to represent your work in progress or finished cockpit parts in pictures you often just take quick photos with your phone or camera.
And as a result, you may not even want to publish these photos online, because they will differ way too much from the picture that you see with your own eyes. In the photo you suddenly notice:
- A lot of dust and scratches. But when you look at your panel with your eyes, there is nothing on it, you don't see anything like this!
- Wrong colors. You may wonder why two cockpit parts of identical color look different in the photo. This can be if these parts are made from different materials and especially if the flash was used! Those materials can absorb and reflect different light waves differently.
- Very roughly processed parts. Again - you look carefully at your cockpit, and say: "come on, I made all finishing work great!" But your camera thinks otherwise.
Remember - modern cameras see much more unwanted details than people can see - this can turn your cockpit part (especially a small part) into a completely different thing than the human eye (and brain) really sees.
To avoid disappointment and get photos that show your work exactly as your eyes see it, follow these basic rules:
- Use a decent camera whenever it's posible, not a simple cell phone camera which resolution just can not be enough for a good photo. The number of megapixels is not so important, a good 6 MP camera can make much better photos than a cheap 16MP "matchbox".
- Don't use the "AUTO" mode in your camera. You can set it to "P" mode ("Program AE"). Always set the ISO manually to the lowest level that your camera allows (50..100). This will guarantee the lowest level of color noise.
- If you take your photo in the sunlight, make sure your object is in a shady spot, but sufficiently lit.
- If you take your photo in the room without daylight, use some diffused light source. It can be just a lamps on your ceiling, but it's better to place two spotlights (lamps) with a light diffuser on the left and right sides above your cockpit to minimize shadows.
- Always use a tripod. You can hold your camera in your hands only if your object is lit well enough and your camera shows shutter speed no more than 1/50 s. If it's more than 1/30 s you will get a blurred picture.
- Do not use the flash, if possible! It can ruin everything, some parts of your cockpit may look terrible in the picture!
- If you need to use the flash, use a light diffuser (this may be a white sheet of paper placed over the flash) or try setting the flash mode to some sort of "Slow Sync/Red eye" - it can help (in this case the tripod is required).
- Always take multiple shots of one object, using different options, from different angles. Later you can choose the best picture in wich your object looks closest to its real appearance for human eye.
- Use an image editor! Not for making your cockpit parts in the photos look better that they really are, but to make them look like the human eyes see them. And also - to cut or blur the unneeded parts, adjust levels, sharpening, remove some spots, dust and scratches. Do not be shy to make your work look better, just avoid to really fake things, like adding some absent details (only if you don't add text that explains this as a future part of construction or something like that).
Examples
Photos with flash
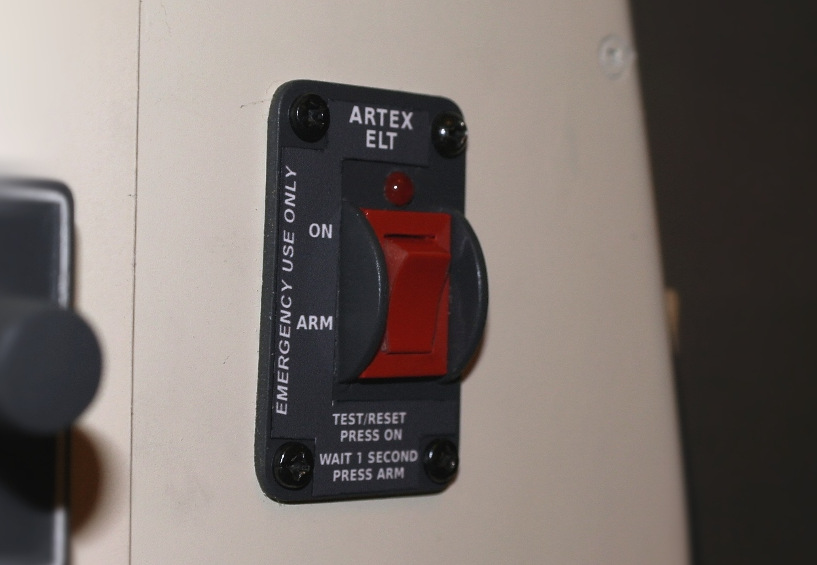
Artex ELT switch on our Baron 58 panel - ISO 100, night time, flash used, but with light diffuser (not direct flash). In image editor - corrected levels, sharpened a bit, a little dust (scratches, hairs) removed, corrected colors, rotated and cropped:

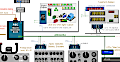
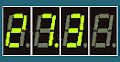
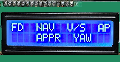
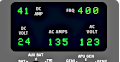
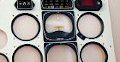
If you need to use flash while taking a photo with the instruments displayed on screen, set it into "Slow Sync/Red eye" mode. These example photos are taken from a tripod from the same spot. The first picture is taken with regular flash, the second with slow sync:
Do not use the flash, whenever it's possible! Use a tripod.
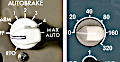
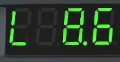
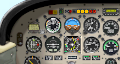
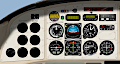
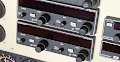
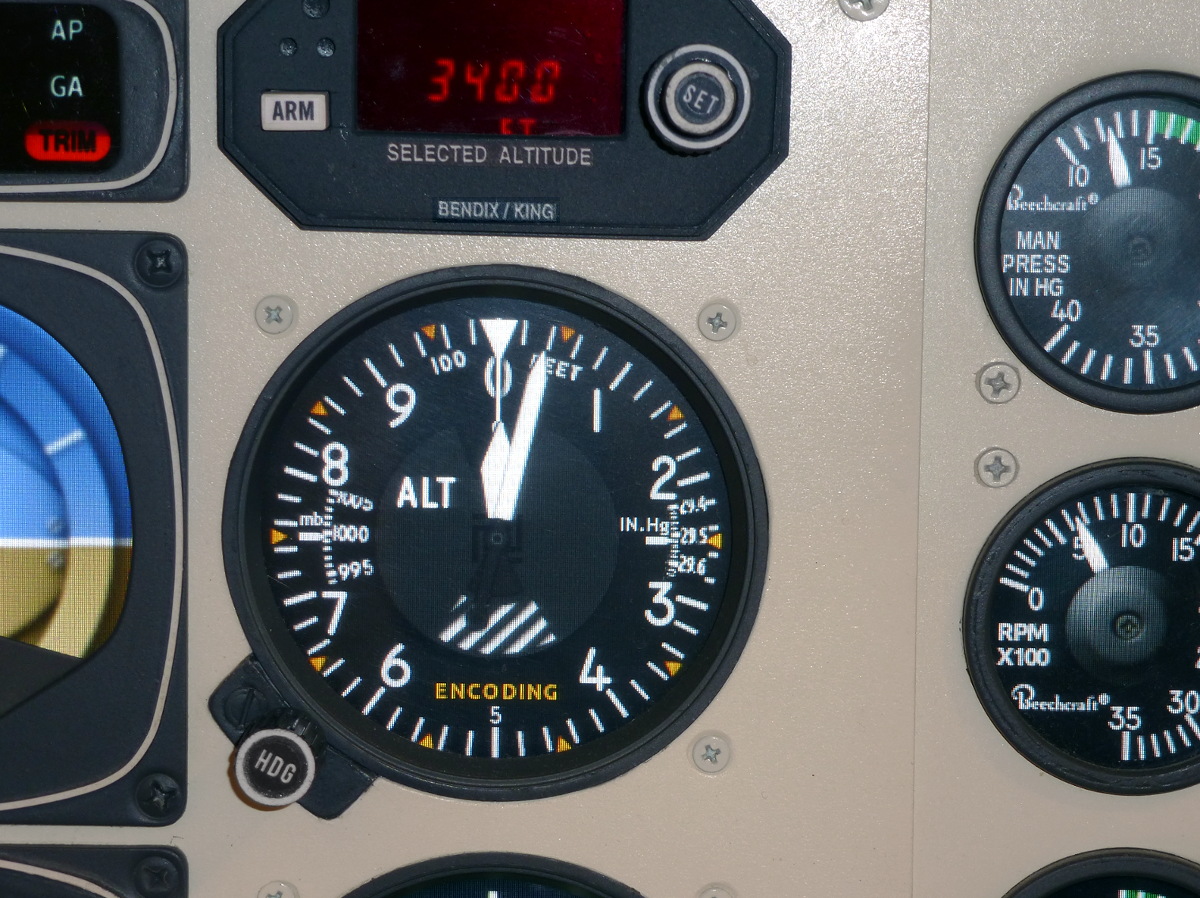
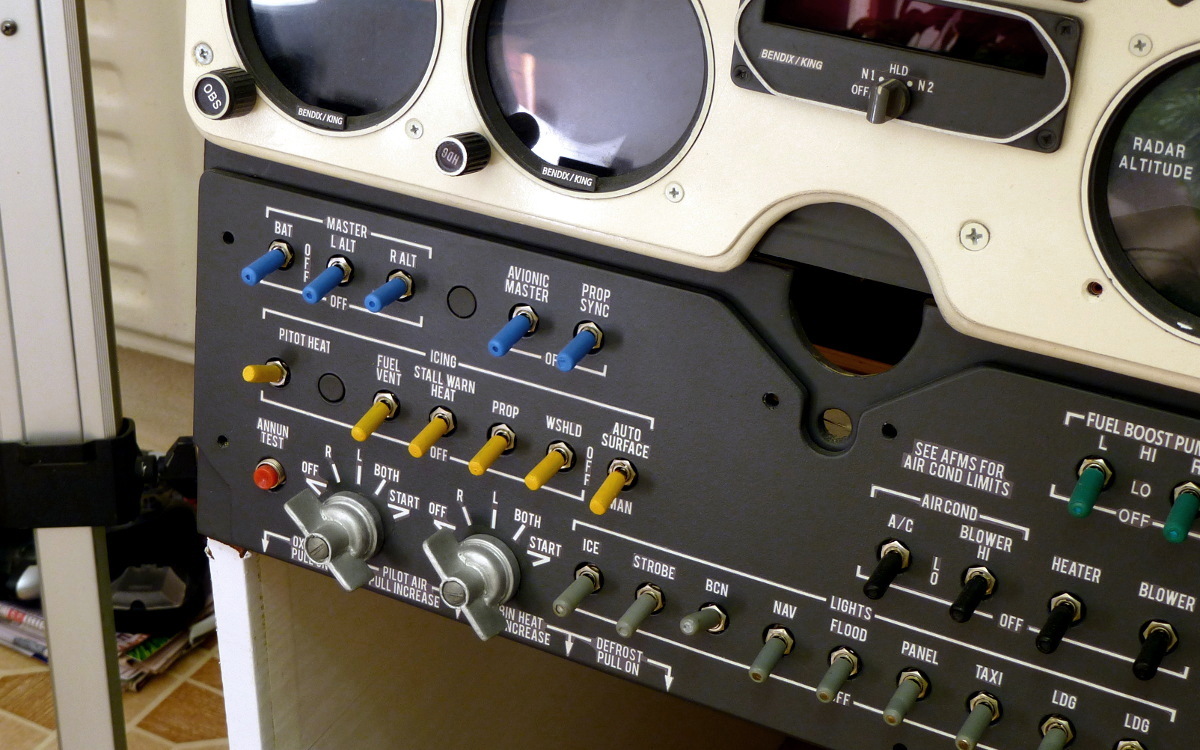
These two photos below are taken from the same spot using a tripod. The first picture is taken with regular flash, the second with a 100W incandescent lamp, shielded from direct exposure to the object (diffused light source).
The photo taken with flash doesn't show the object the same as we can see it with our eyes. Despite the deep black shadows, it looks flat, some details are vanishing.
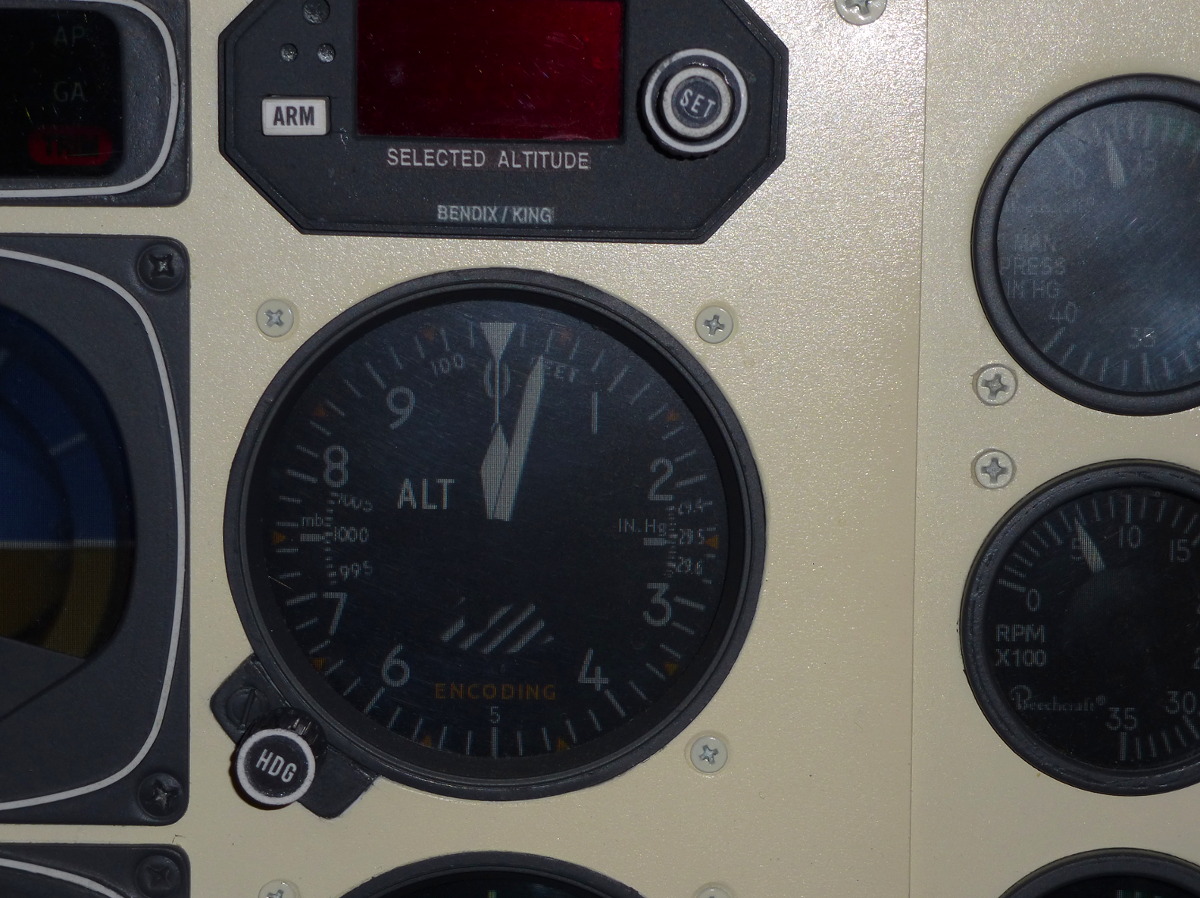
You can clearly see that all lettering is printed on sticker paper because paper painted dark-gray reflects more of the flash's light than painted PVC. But, if you look at this panel for real, you almost don't notice the difference between background color of the paper and color of the panel.
The second photo taken with diffused light source is obviously more "alive", the only issue is the color balance that is yellowish because of the lamp spectrum.


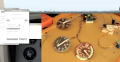
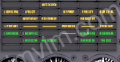
To correct this, open the second photo in the image editor (we use Gimp) and all you need to do is to correct levels (if you aren't sure, you can just select "auto level"):
Note: these photos are just a guidance, they are made without special preparation. If you will spend more time for right lighting, you can get better pictures. Just look at your objects, compare with photos you've got and make more photos with different lighting if you see much difference between what you see and what you got.